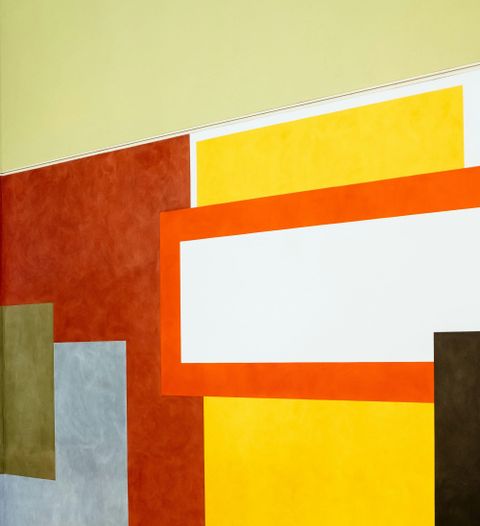
Someone asked on the discord channel how to make a rect with a hole in it. Here we go...
The key to this is the use of the Konva.Group.clipFunc() feature. Inside the clipFunc we define a closed path. When the group is drawn, any area outside of the defined path is transparent.
TLDR: Here is a CodePen demo.
The clipFunc() requires us to use low-level direct canvas commands, but mostly what we are doing is quite simple and this is entirely possible. But with that low-level power we get the ability to make a 'hollow' path - which is exactly what we need for the hole we want to place in our rectangle.
Here is the definition for the group with the clipFunc for the demo:
// this group is used to provide the clipFunc which is not available on other shapes
  group = new Konva.Group({
    x: 120,
    y: 120,
    draggable: true,

    // This is how we cut out the hole!
    clipFunc: function (ctx) {

      // co-ordinates are from top-left of group.
      // Start only one path
      ctx.beginPath();

      const r  = outerRect.getSelfRect()
      // Draw the first hull: clockwise
      ctx.moveTo(r.x, r.y);
      ctx.lineTo(r.width, r.y);
      ctx.lineTo(r.width, r.height);
      ctx.lineTo(r.x, r.height);
      // Closing path, but not starting a new one
      ctx.closePath();

      // Now draw the hole: counterclockwise - look at the co-ords!!!
      // bottom-right, top-right, top-left, bottom-left, bottom-right
      ctx.moveTo(windowPos.x + windowPos.width, windowPos.y + windowPos.height);
      ctx.lineTo(windowPos.x + windowPos.width, windowPos.y);
      ctx.lineTo(windowPos.x , windowPos.y);
      ctx.lineTo(windowPos.x, windowPos.y + windowPos.height);
      ctx.closePath();
    }
  }),
At line 7 we see the declaration of the clipFunc. The basis of the approach is that we draw the first, outer edge, of the path matching the position and dimensions of the main rectangle. Note that we draw this clockwise by moving the insert point to the top-left, then drawing to top-right, bottom-right, left-bottom, then closing the path which will draw to top-left again.
The hole is made by then drawing another rectangular path counter-clockwise. In this case we draw in the opposite direction, starting at bottom-right then top-right, top-left, bottom-left, and close the path to draw to bottom-right.
The magic here is that if we draw an outer path clockwise and an inner path counter-clockwise, the area defined by the inner path becomes a hole!
Summary
We've seen how to set up a rectangle with a hole, and in the demo we've seen how to move and size that hole. Although we are using rectangles in this case, the technique can be used with any type of shape, for example a circle with a star-shaped hole.
Thanks for reading.
VW Feb 2024