Based on the learnings from my clip regions with holes article I thought I would cover how to make a spotlight effect since it has been asked for a few times on the discord channel. here we go...
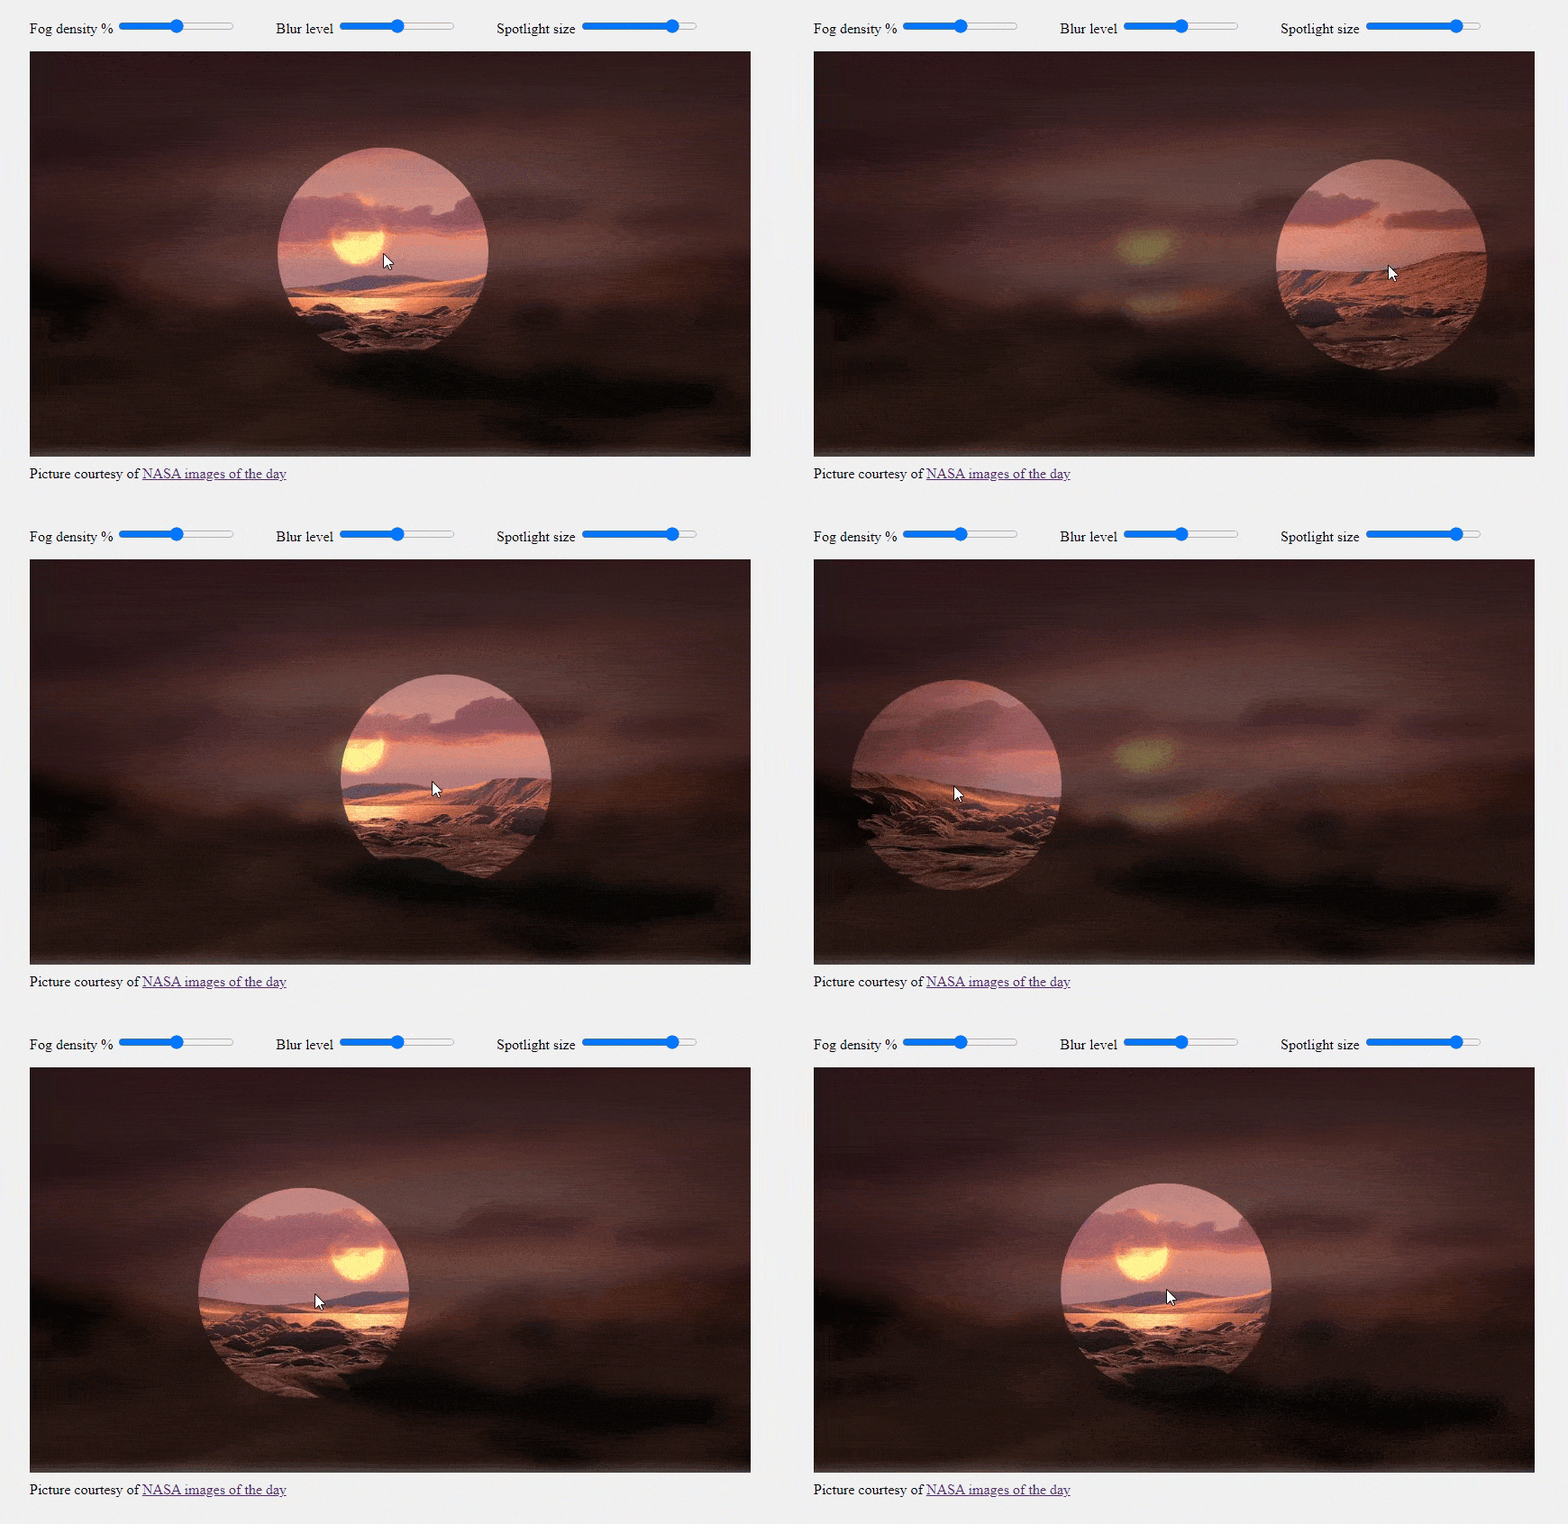
TLDR: See the demo Codepen here. And this is what it looks like...
Adding the blur effect
Adding the blur is a straightforward use of the clipfunc configured to chop off everything but the spotlight circle. First though I need to mention the gotcha which is that of you apply blur to an image then the whole image gets blurred - meaning that to get the unblurred circle in the spotlight becomes a problem.
The solution is to have another version of the image, unblurred, and make the spotlight disc from this image.
The clipfunc we use for this is just a simple arc/circle, with everything outside the circle being clipped out of view.
// The simple spotlight clip function
function setClipFunc1(pos){

  return function (ctx) {

    ctx.beginPath();

    ctx.arc(pos.x, pos.y, spotSize, 0, Math.PI * 2, false)

    ctx.closePath();
  }
}
Making the spotlight effect
As in the clip regions with holes article, the way to get 'holes' in a shape is to define a clipping region via the clipFunc. On that article the code produced a couple of hollow rectangles but for the spotlight we want a single hollow circle.
To get that effect I simply made a rect filled with black and with its opacity set below 1 - this gives a pleasing foggy overlay. Then I used the clipfunc approach from the other article, making the outer 'hull' match the rect size and replacing the inner square hull with an arc/circle that is drawn counter-clockwise. See MDN for the info on the arc.
Here's the clipfunc derivation for this effect.
// The clip function for the cut-out/hole in the foggy overlay
function setClipFunc2(pos){

  return function (ctx) {
    // Start only one path
    ctx.beginPath();

    // Draw the first hull: clockwise
    ctx.moveTo(0, 0);
    ctx.lineTo(clearImage.width(), 0);
    ctx.lineTo(clearImage.width(), clearImage.height());
    ctx.lineTo(0, clearImage.height());
    // Closing path, but not starting a new one
    ctx.closePath();

    ctx.arc(pos.x, pos.y, spotSize, 0, Math.PI * 2, true)

    ctx.closePath();

  }
}
I added a slider to the demo to allow the user to change the density of the fog. Otherwise that was it!
Bringing it together
All we do then is stack the blurred image at the bottom, then have the clear image on that and finally the foggy overlay on top. Then we set the stage mousemove listener to trigger the repositioning of the 'spotlight' but updating the clipfunc's on the clearimage (effectively clipping the image to a disc the size of the spotlight in the position under the mouse) and the foggy overlay (effectively making a hole in the overlay as a disc the size of the spotlight). Et voila!
Thanks for reading.
VW March 2022
Photo by Jaël Vallée on Unsplash